Here's what you will need:
-a safety pin
-two different colours of felt (or more, or less, depending on your design)
-some thread of around the thickness that you would make a friendship bracelet with (again, you can use multiple colours if you like)
-a needle with a large eye
-scissors
-a pencil
Now I'll give you the instructions, but remember, I'm just writing about my own badge design, so feel free to adapt the following to suit your own.
Step 1:
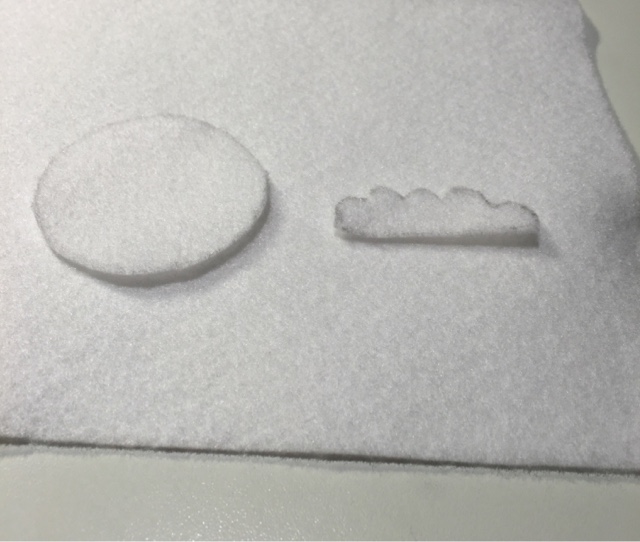
With your pencil, draw on a sheet of felt the shape that you want to have on the front of your pin (a cloud, in my case). Mine is about 4.5cm long for reference. Then cut this out.
Step 2:
Next, draw a circle slightly larger than your first shape - I used my white felt again for this, and to get a perfect circle, I traced the outline of my little box of needles which was, handily, just bigger than my cloud. You can use any circular template, or none if you would prefer. And then cut this out. This is what we have so far:
Step 3:
Now cut a length of thread and put it through the eye of your needle (this proved to be quite a challenge for me, even though I was using the largest-eyed needle that I had, but I got there in the end!). Don't forget to tie a knot at one end so that the whole thing doesn't unravel! Then, using a simple stitch (or another one that takes your fancy), sew your first shape onto the circle. I turned both shapes upside down beforehand so that the pencil outline was on the back and therefore not noticeable.
Step 4:
Take a different coloured felt sheet (or use the same one if you want) and put your work so far on top of it. Draw a circle around it onto your new sheet of felt, making it around half a centimetre larger in radius than the first circle you made. I just went freehand for this bit. Afterwards, cut it out, following the pencil mark.
Step 5:
Time to get out your safety pin! Open it and put it through your larger circle so that the opening/closing half of it is on the side with the pencil outline - this will be the back of your pin.
Step 6:
You guessed it - it's time to sew your smaller circle onto your bigger circle! I used my blue thread again, but obviously you can choose a different colour if you want this time round. Make sure that you sew it onto the front of your larger circle, so that you can still clip and unclip the safety pin at the back.
And that's it! Your very own homemade felt pin/badge. Hope you enjoy it.
Catch ya later,
Issy :)
P.S. Make sure to check out our Instagram: cheekymonkeydiy


No comments:
Post a Comment